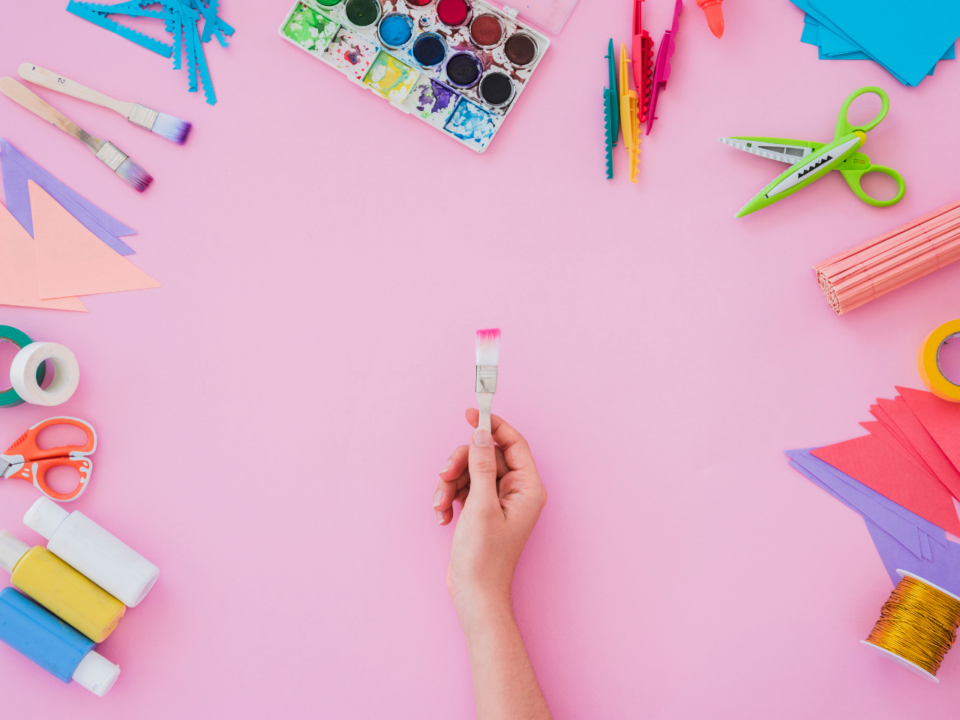
Make this school year one your child won’t forget by adding some glitz and glam to their school supplies. These easy DIYs will have your child feeling ready and excited to go back to school, as these crafts are perfect to upgrade those basic school supplies into school supplies that are fun to use and flashy!
DIY NOTEBOOKS
Courtesy of Rockin’ Strawberries
Materials
Notebooks
Scrapbook paper
Acrylic paint
Paintbrush
Scissors
Glue
Directions
1. Start with measuring how much scrapbook paper you need by holding it to the cover of the notebook and marking it with a pen about 1-2 cm away from the edge of your notebook. Then, cut to fit.
2. Next, flip over the notebook and scrapbook paper, and cut the corners off of the scrapbook paper.
3. With the corners cut, fold in the edges (similar to wrapping a present!) and glue down onto the cover. Make sure your decorative side is facing outward before gluing.
UPCYCLE BINDER CLIPS
Courtesy of Bsaz Creates
Materials
Binder Clips
Washi Tape
Spray Paint
Directions
1. Start by taking apart the binder clips. Each clip will have three parts: one clip and two arms.
2. Lay out all pieces (outdoors) on cardboard or on another paintable surface.
3. With your spray paint color of choice, cover all pieces equally. Once dried, flip pieces over to coat the other sides until the pieces are fully covered.
4. Carefully reinsert the “arms” into the clips.
5. With your decorative washi tape, add a slip to each side of the clip, making sure it fits the size of the clip.
GLITTERY PENCIL CASES
Courtesy of Studio DIY
Materials
Pencil Cases
White Paint + Colored Paint of Your Choice
Paintbrush
Adhesive Label Paper
Scissors
Mod Podge
Glitter
Confetti
Stencils
Directions
1. Using stencils of your choice, draw the designs onto the adhesive label paper and cut out using scissors.
2. Peel the backing off the adhesive label paper and adhere to the pencil case where desired.
3. Paint over the stenciled design with white paint to act as a primer. Let dry completely.
4. Paint with your color of choice and let dry, then peel back your stencil! If any paint seeped through, clean up the edges with a thin paint brush.
5. To add glitter, paint with Mod Podge over the area you choose and sprinkle with glitter. Let dry, then seal with a final layer of Mod Podge over the top of the glitter!
6. For a complete glitter case, paint the entire side of the case with Mod Podge and sprinkle with glitter. Let it dry. If necessary, repeat with a second layer. Finally, seal the glitter with a final layer of Mod Podge.