The start of a new school year brings excitement, fresh routines, and sometimes a bit of nervous energy. As kiddos adjust, these easy back-to-school crafts are fun to make and even better for easing jitters.
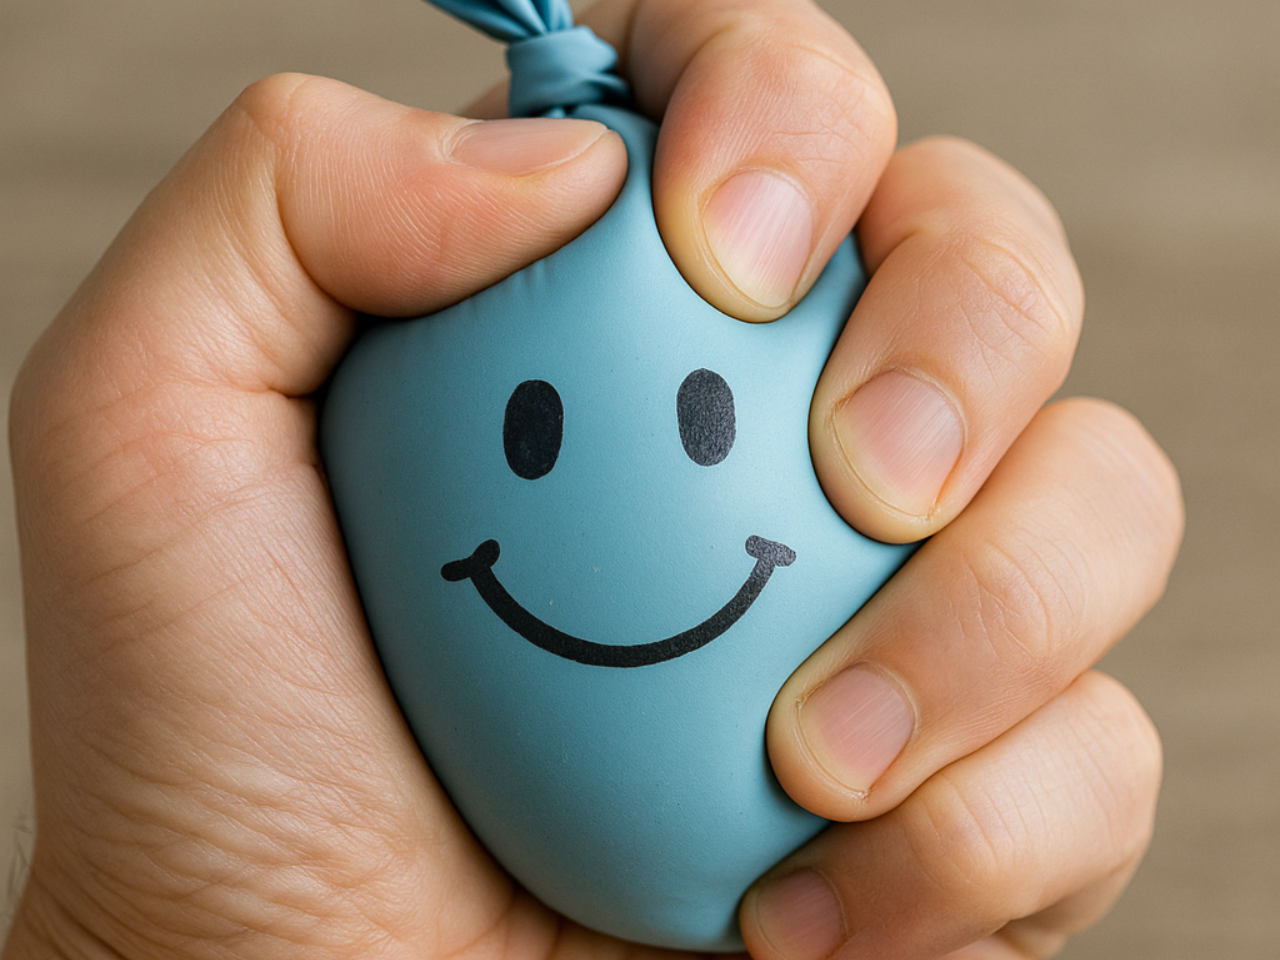
DIY STRESS BALL
Materials
■ Balloons
■ Flour or cornstarch
■ Funnel or plastic water bottle
■ Marker (for decorating)
Directions
- Stretch out your balloon a bit. This helps make filling easier!
- Place the funnel or cut plastic water bottle top into the balloon opening and hold it together to prevent any spills.
- Slowly fill the balloon with flour or cornstarch. Gently tap the funnel or bottle to help the powder slide through.
- Once full, tie a tight knot in the balloon.
- Draw on a fun face or design with a marker.
FIDGET SPINNERS
Materials
■ Popsicle sticks
■ Scissors
■ Crazy glue or hot glue
■ Craft foam
■ Round epoxy stickers (or similar flat decorations)
■ Toothpicks
■ Small drill and bit (or something to poke a hole)
■ Paint, washi tape, glitter, or other decorations
Directions
- Cut popsicle sticks to about 1.5 inches. You’ll need three per spinner. Glue them together in a spinner shape and let dry.
- Drill or poke a small hole in the center, just big enough for a toothpick to fit through.
- Decorate the epoxy stickers. Drill or poke a hole through the foam stickers for the toothpick.
- Slide one foam-covered sticker onto a toothpick (foam side out), add your wooden spinner, then the second foam-covered sticker (foam side out). Adjust so it spins easily but isn’t too loose.
- Trim extra toothpick. Add hot glue to hold in place, then stick on the decorated epoxy stickers. Add any extra embellishments you like.
SALT DOUGH WORRY STONES
Materials
■ Flour
■ Salt
■ Warm water
■ Gel food coloring
■ Glitter
Directions
- Mix two parts flour and two parts salt in a bowl.
- Add one part warm water and stir into a dough. Add a little more water if needed.
- Mix in food coloring and glitter.
- Shape into small cubes and press your thumb into the sides.
- Let dry overnight until hard.